File Vault
Create a vault
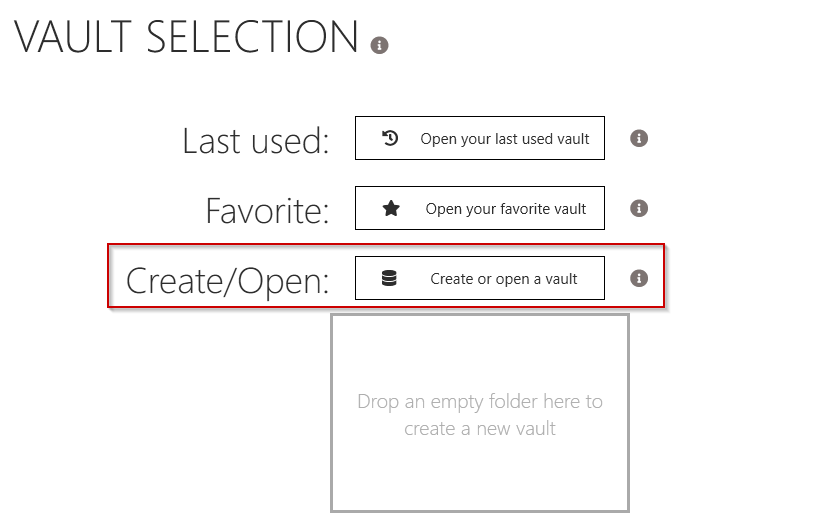
- After connected to your QBKEY, the vault selection screen will be presented.
- Click the “Create or open a vault” button to continue.
- Windows File Explorer will open.
- Select or add a folder from either a local drive, an external drive, or a cloud drive.
Important
We recommend to start with an empty folder (if you take a non empty folder, the data in the directory won’t get added and will be ignored).
Alternatively you can drag and drop your folder from the explorer window.
You will be asked to authenticate by scanning one of your registered fingers.
Note
Video: Creating Your First Vault.
Open a vault
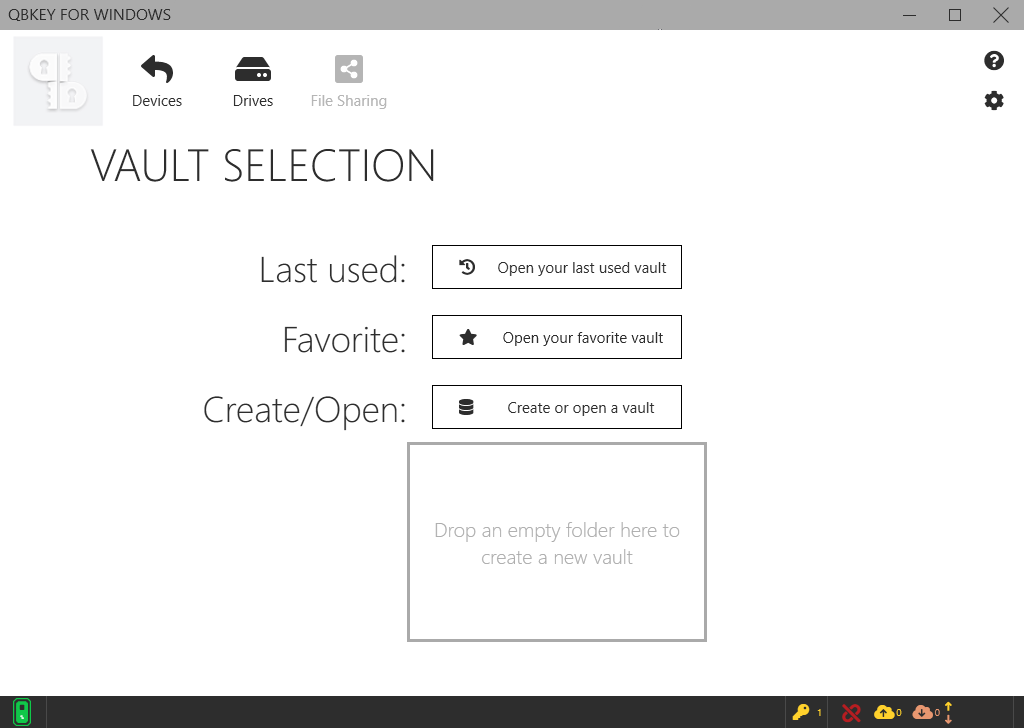
After connecting to your QBKEY, the vault selection screen will be presented. If you already have a vault you can choose your vault or connect the the last used vault (if enabled in the settings). When you mark a vault as favorite you will be have the option to open your favorite vault here as well.
Note
you will only be able to see these first two options after you have enabled them in the settings screen. For more information on this topic see image below.

Note
Video: Open Existing Vault.

Adding folders to the vault
Method 1 - New Folder Button
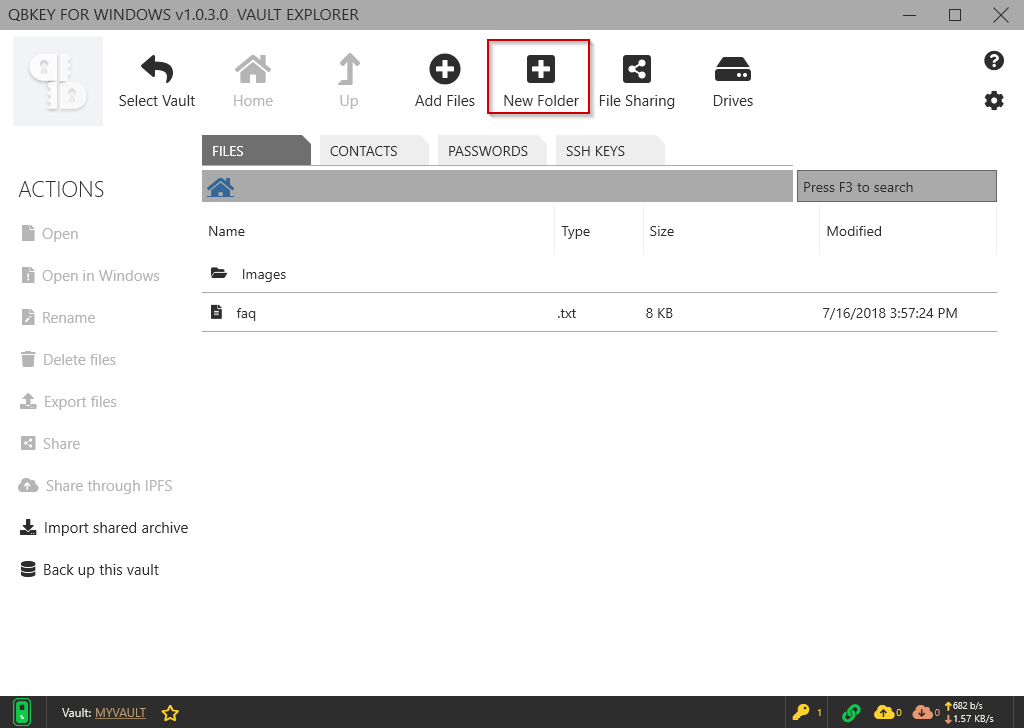
- Click the “New Folder” button in the menu bar.
- Enter a name for the folder. This will an empty folder.
Note
The EMPTY folders will be deleted once closed vault (this is a security measure).
Method 2 - Dragging&Dropping
- Folders can be added through drag&drop. Drag a folder from the Windows File Explorer onto the main QBKEY software window.
- All files and subfolders of this folder will be added to the vault as well.
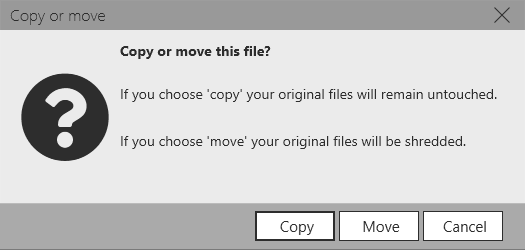
- You will be asked whether want to move the folder or copy the folder to the vault.
QBKEY Software will ask you whether you want to move the folder or copy the folder to the vault. If the Copy option is selected, the target files will stay on their original location, and a copy of those files will be encrypted and pasted to the vault. Once Move option is selected, the target files will be encrypted and send to the vault, and the original files will be shredded.
Note
The EMPTY folders in the vault will be deleted once closed vault (this is a security measure).
Adding files
Method 1 - New File Button
Click the “New File” button in the menu bar.
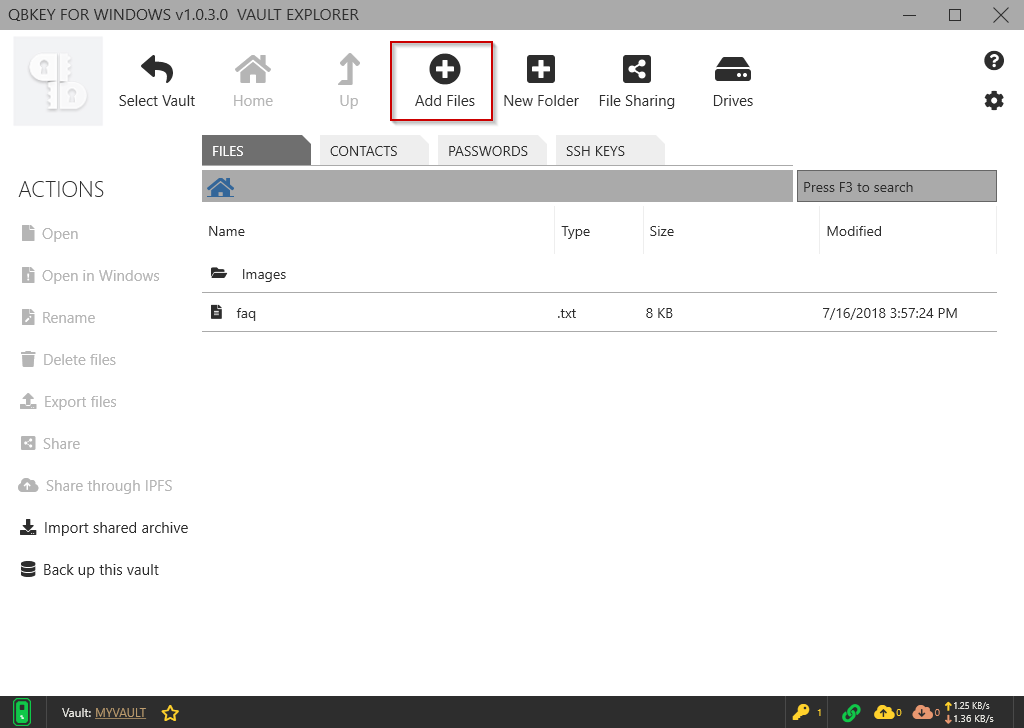
- Browse the explorer window for the file you want to add and click the “open” button.
- Remember, if you drag a folder, all files in the folder will be added.
- You will be asked if you want to move or copy the files.

Tip
You can add multiple files at once by using the standard windows controls for selecting multiple file (holding the shift or ctrl keys).
Method 2 - Drag&Drop
- Files can be added through drag&drop. Drag a file from the explorer windows onto the main QBKEY software window.
- Remember, if you drag a folder, all files in the folder will be added.
- You will be asked if you want to move or copy the files.

Note
Video: Adding Files and Folders.

Deleting files and folders
- You can select one or more files and folders.
Tip
You can select multiple files and folders at once by using the standard windows controls for selecting multiple file (holding shift or ctrl).
- Right-click on a selected file and choose delete from the contextmenu.
OR
Choose “Delete files” button in the file actions menu on the left side. The standard delete function (shred) is a 5-pass operation.
Note
Deleting large files can take a very long time (because of the shredding procedure).
Hint
When deleting large files you will have to option to use a faster delete option, which is less secure than the standard delete option. The fast delete function (wipe) is a single-pass operation
Note
Video: Deleting Files.

Sharing files
- Select the files you want to share (use the shift or ctrl keys for selecting multiple files).
- Right click and select “Share” from the context menu OR click the “Share files” button on the left side menu bar.
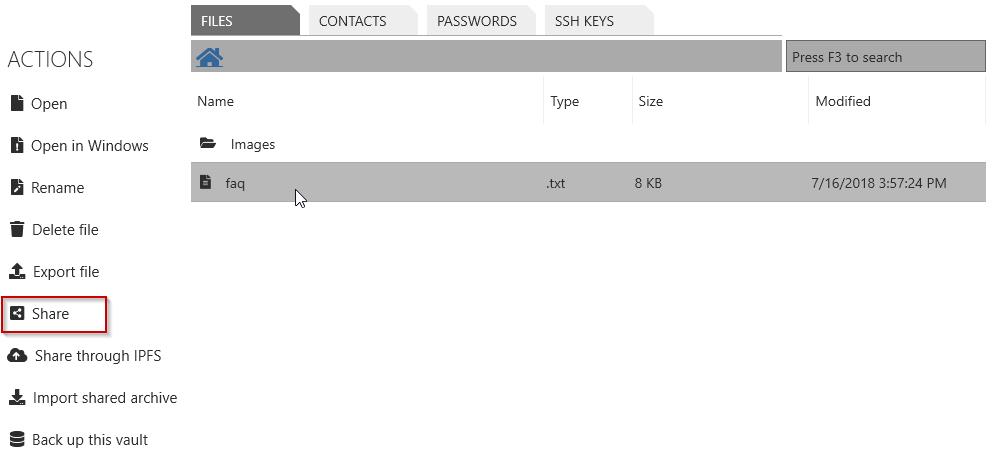
- You will need the public key of the recipients (must be QBKEY users) or have them in your contact list already.
Note
The recipients must be QBKEY users.
- You can now choose where you want to store the .qbs share archive file (this archive file contains all your selected files you want to share).
- You can now transfer this file to the destination by any way you like (USB stick, file transfer, email, cloud share, …).
- The file can only be opened by the QBKEY that matches the public key.
Note
Video: Sharing Files.

Other file actions
Open file
Using this function will open certain file types in de QBKEY software. Supported file types are textfiles and images (more will be supported later).
Open in Windows
This option will open the selected file in assiociated windows software.
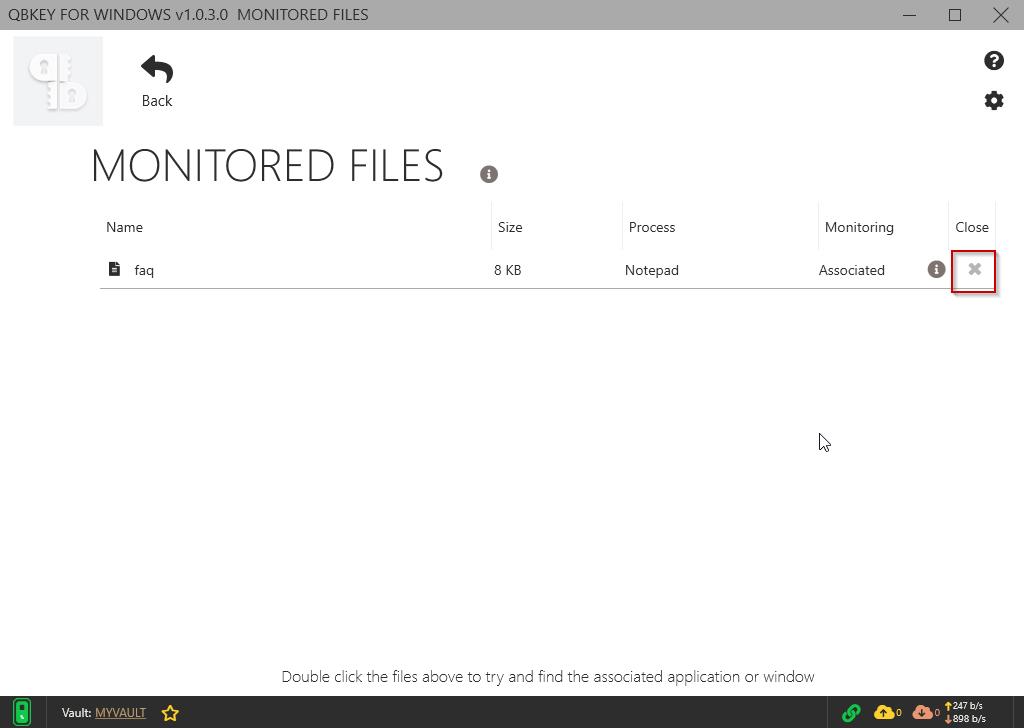
Once there are files opened in associated Windows software, a Monitored File List will be generated, and will be available by clicking the red round button on the status bar.
Warning
HAVE TO CLOSE ALL THE FILES ON THE MONITORED FILE LIST BEFORE CLOSING THE VAULT. Otherwise, you leave the unsaved files out of the vault.

Monitored File List
- When opening files from your vault, e.g. a Word file, this file will be protected securely while browsing or editing. The opening files are in the monitored list.
- As soon as you close that file, the operating system should release that temporary file, and the file will be disappeared from the monitored list.
- Sometimes the operating system will not release the temporary file properly, and you will have to close it through the monitored file list manually. You cannot close files that are still opened or being edited.
Note
OPENING FILES ARE STILL STORED ENCRYPTED
Note
Video: Monitored Files.

Rename
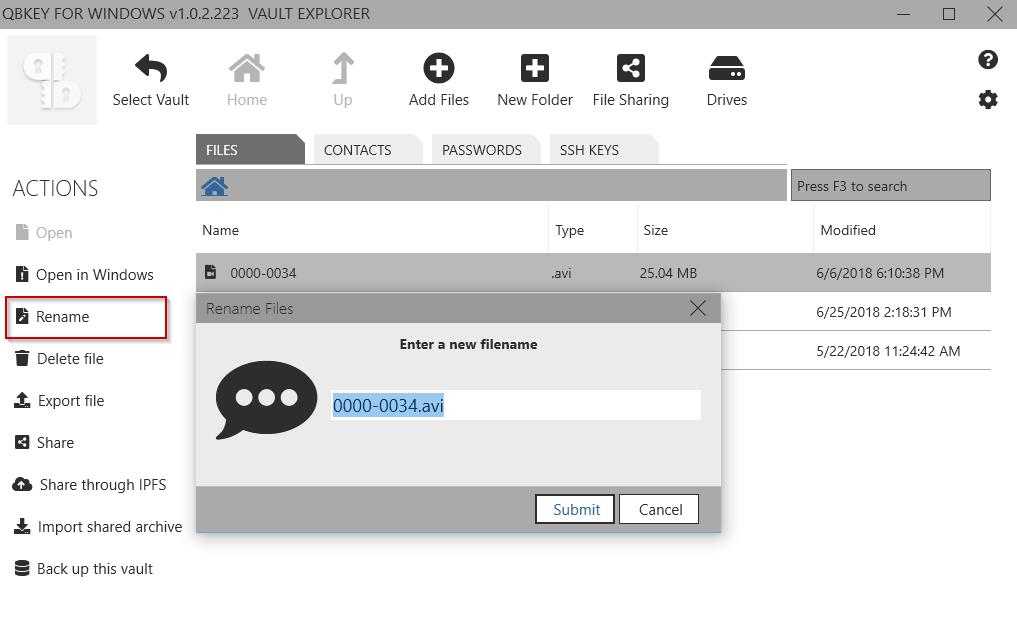
You can rename your files by using the rename button in the file action menu or by right clicking on a file and choosing “Rename” from the context menu.
Export files
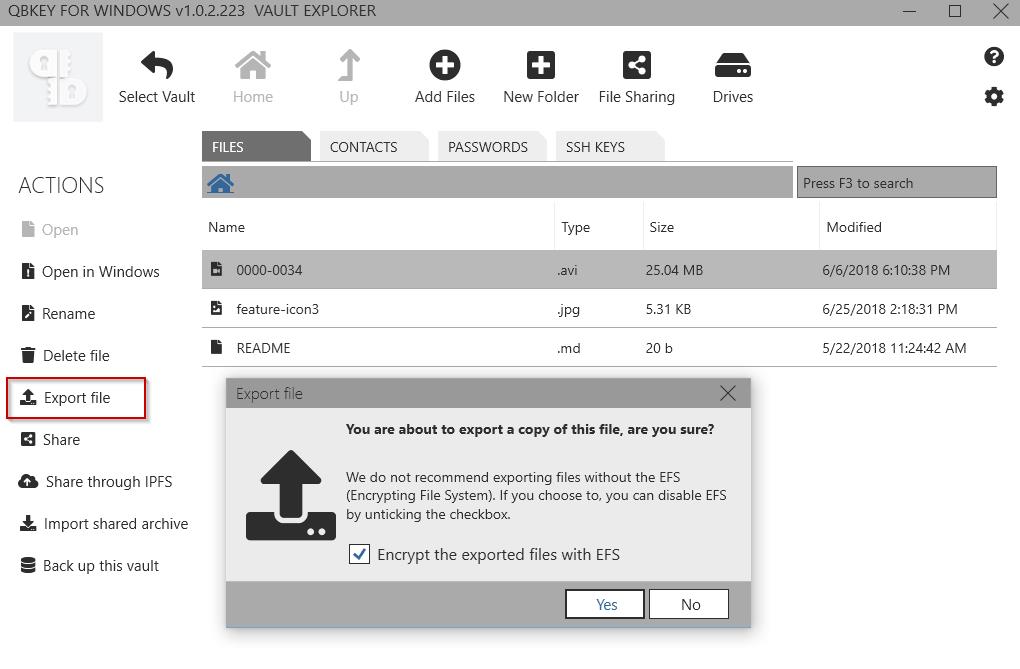
- If you want to export files out of your vault, you can use the “Export” function.
- When exporting you will be asked if you want to keep your files EFS encrypted or not.
- Next, choose a location outside of your vault where you want to store your file(s).
Note
Video: Export Files.

Vault Backup
- Click “Backup this vault” button on the left side menu bar.
- Choose a location outside of your vault where you want to store your backup file. It is suggested that choose a location on other devices.
- The backup file is with the timestamp sequence file name by default. It can be changed as you like.
- If you want to open the backup vault, you extract the archived backup file to an empty folder.
- Then, open the folder as a vault by using your QBKEY. You have your backup files in the vault.
Full Drive Encryption
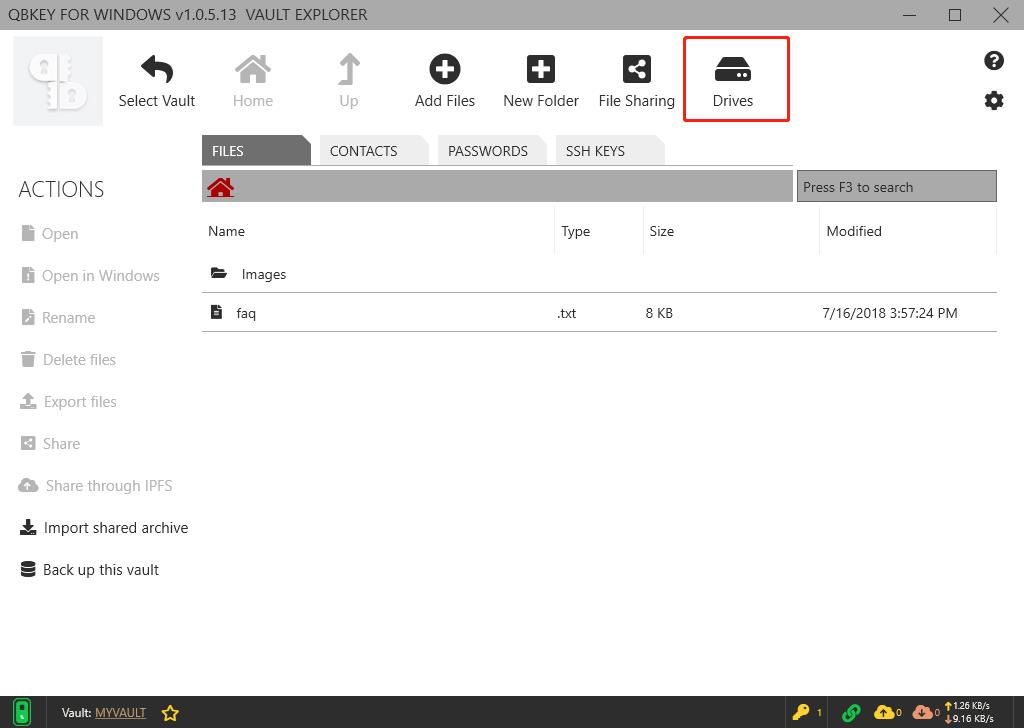
- Click “Drives” button on the top menu bar.
- Select the drive you want to protect. Click “Refresh” button if the drive did not show up.
- Then, click “Protect with QBKEY” to protect this drive with your QBKEY.
- You can lock or unlock this drive with your QBKEY now.
- Once you unlocked the drive, you can add other QBKEY users to this drive. This allows other QBKEY users to lock or unlock this drive.
Note
Video: Full Drive Encryption.


